Now what I would like to do is share some of the decisions I made while I was making Union and explain how it came to be what it is. This is sort of my equivalent of the commentaries for the Orange Box games, only using text and pictures rather than in-game audio. I will also show some screenshots of the maps during production so you can see how they changed.
WARNING: It goes without saying that this will be full of SPOILERS! If you have not yet played Union I would urge you to do so first or you may spoil the effect.
So, let's start with the first room. When I first started designing Union, there were only two parts I had solidified in my head: the start and the end. I knew that the player would start out by recovering from unconsciousness. However, it took me a while to decide whether the player would witness the fall of Nova Prospekt or whether they would simply wake up with everyone dead. In the end I chose the latter, as it created a much creepier atmosphere and got the player wondering. It also means that I now have flexibility with the timeframe of the events.
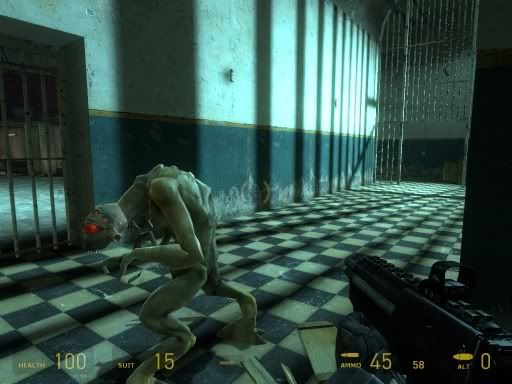
The first room is designed to immediately give the player a sense that something terrible has happened and to make them feel trapped and even slightly disorientated. By locking the door and using the burrow as an entrance/exit route we can also see that the antlions were cunning and must have easily overpowered the Combine forces.

The first antlion we catch a glimpse of makes the player cautious and (hopefully) frightened of advancing. In early designs, the player would pick up the crowbar in this corridor and use it to smash some boards covering the far exit. This was removed to increase the intensity and danger when we finally come face-to-face with the antlion, also adding to the sense that the vortigaunt is a worthwhile companion and useful aide. In addition, the door to the vortigaunt's room was originally open but this didn't really make much sense in retrospect. If the vortigaunt was free to walk around, why hadn't he done so? I added the padlock to imply that he had been imprisoned hastily by the Combine during the battle.
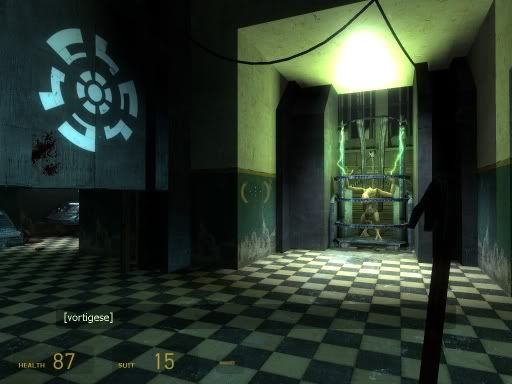
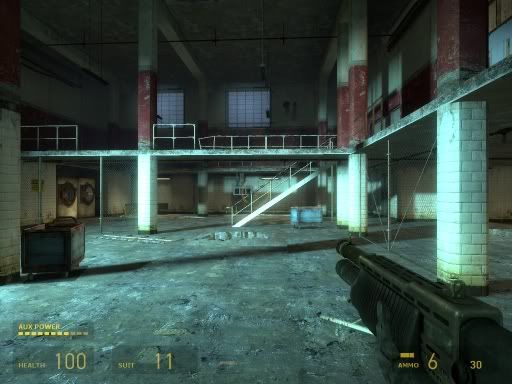
The Combine gates were something I had envisioned right from the start, and I feel they are one of the most important elements of Union's gameplay (especially considering they are integral to the dramatic ending). Through using these gates, the player realises that they must work together with the vortigaunt in order to escape. One cannot proceed without the other. This area has the gate, the activation 'pod' and the terminal all in close proximity so the player can quickly understand that they are directly connected.
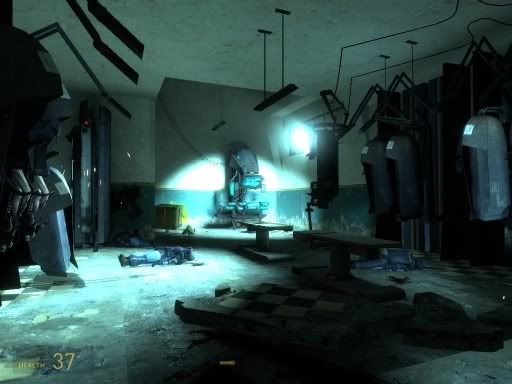
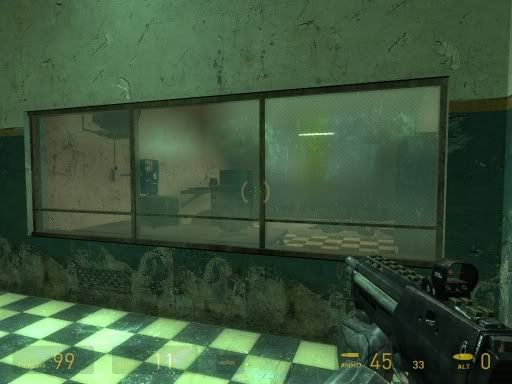
I actually learned to use lightmaps whilst making Union. I had never really tried them out before. This corridor's lighting is a credit to Valve and their fantastic engine. Originally this whole corridor, and indeed many other areas of Union, had different textures and were lower in detail. The texture seen in the previous screenshot was the same used in the 'Entanglement' areas of Half-Life 2 which was going to be the setting for Union. As things developed it became apparent that the areas from the 'Nova Prospekt' chapter were more appropriate both visually and from a setting stand-point. Similarly, the large room used to fight antlions was previously a cell block but later a laundry room became more appropriate and allowed for more interesting use of textures and props.
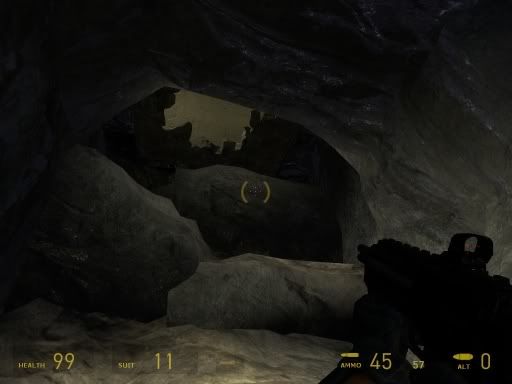
Originally, this small room full of goodies was the way the player would enter the laundry room (by blowing the window open with grenades). I later decided that it would be better to add in some more walking and combat so that the following battle was not too close (time-wise) to the start of the level. The antlion burrows were a logical solution, and allowed the goodies room to become a secret bonus area. Unfortunately, the exit proved extremely troublesome given the small space and in playtests I noticed a lot of players simply gave up trying to climb up. This small piece of navigation is, in my opinion, the weakest part of Union but I really couldn't find a way to work around it. I guess it made the goodies that bit more rewarding!
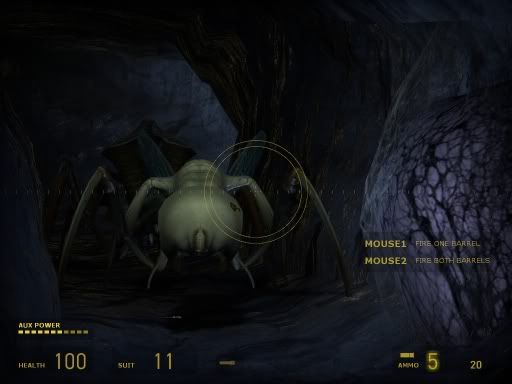
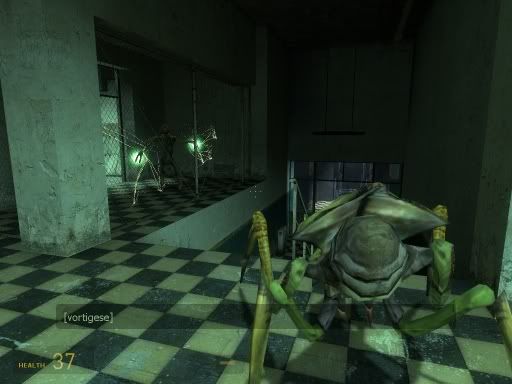
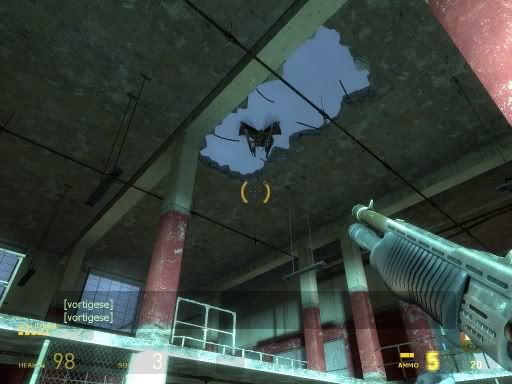
In the antlion burrows we see the worker drones for the first time, preparing the player for fighting them in the laundry room battle.
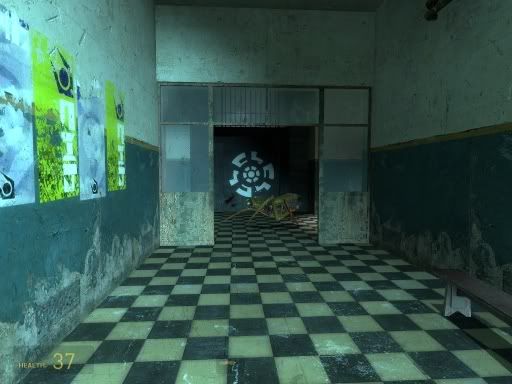
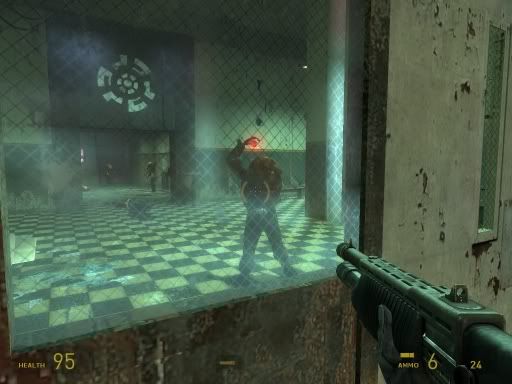
As the player exits the burrows they can see the vortigaunt waiting for them dead ahead. In earlier versions, the switch to open this gate was right beside it. However, this encouraged players to trigger the large battle before they really had a chance to get their bearings. This often lead to confusion and frustration when, in the heat of battle, players had no idea there were ammo crates lying around. I simply moved the switch so that players would almost certainly notice the shotgun and ammo when they went to throw it.

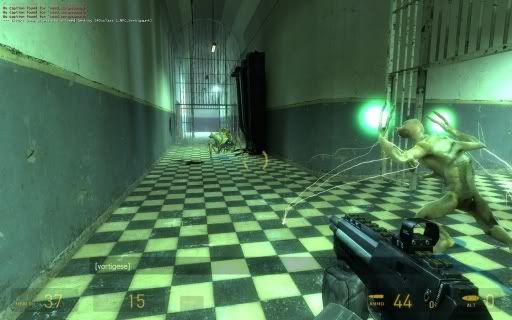
The laundry room probably took up the majority of my time making Union. I don't mean literally making it; the layout is fairly straight-forward. What took so long was tweaking the timing and flow of antlions, item placement, cues from the vortigaunt and other such fine-tuning. In such a chaotic situation it is difficult to know what the player will be doing at any given time, but I'm pleased with the way it turned out. The room's open design (using fences and height differences to limit movement but retain visibility) allows for some spectacular acrobatics on the antlions' part. The catwalks give the player some different areas to explore and shoot from, but they will eventually have to come back to the thick of the battle when their ammunition runs out. The hole in the ceiling was added near the end of development to give the sense that the antlions are attacking from all directions.
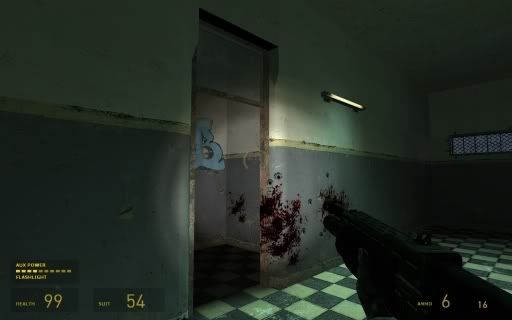
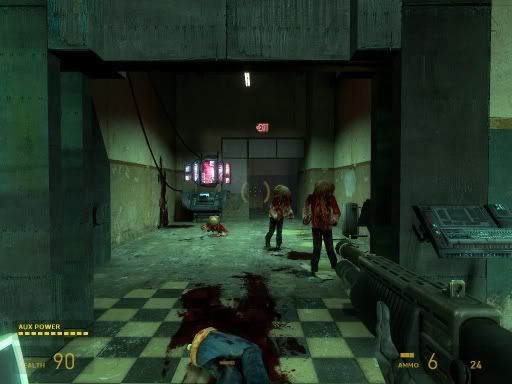
After the timed battle with the antlions swarm is over, I am faced with two challenges: how do I remind the player of their goal and lure them back to the Combine gate, and how do I provide a new way of leaving the previously-locked arena? I solved this problem by introducing zombies into the area. As the vortigaunt powers up the gate, a zombine staggers out. When the player is near the doors (or if the player waits too long), the zombine pulls a grenade and blows them open. This draws the player's attention to this area and provides a new exit to the laundry room.
The 'zombie corridor' contains the terminal to keep the Combine gate open. Several playtesters missed this terminal on the way through and, as a result, left the vortigaunt behind and got stuck in the boiler room. Considering that there is a drop shortly after that cannot be climbed back up, I will probably modify this part for future versions. Leaving the vortigaunt behind can essentially break the game and cause the player to become completely stuck, and reminding them to open up a path for him can be quite tricky without use of custom voice acting. Perhaps this is something I will consider for the future too.
Anyone who has listened to The Orange Box's commentaries may have realised by now that I have learned a lot from Valve's design techniques. In my opinion they are the best game developers out there and I admire their approach to design hugely. I have seen how it pays off, and I have tried to use that approach to my own mapping. I guess it's up to you whether or not it paid off.
I hope you've enjoyed reading this and I hope it's been insightful. Look out for Part 2 coming soon. As always; let me know what you think, I love to hear feedback whether it's good or bad.
3 comments:
Woo, commentary!
Nice write up. I could see while playing through the mod that a lot of thought went into it's design, and this confirms it.
Interesting analysis on a very strong map, which I very much enjoyed playing.
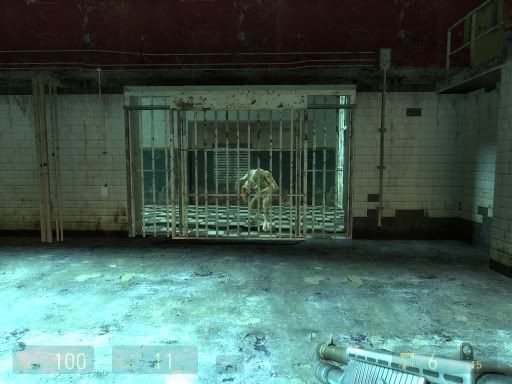
This may already have been discussed elsewhere, but I thought the only thing that really did not work well was the sniper in the second map. There were several problems here - one, it is possible to kill the sniper with SMG grenades, yet he magically re-appears. Second, the player cannot see the bars around the sniper from some distances, which is confusing as it is unclear why grenades do not work for removing the sniper threat.
One of the golden rules of level design is not to change the default behaviour of entities unless there is a very good reason. As far back as HL1 the player has been taught that a grenade in the right place will dispatch a sniper. This comes up again and again in the HL series of games. You chose to change this behaviour, which I agree works well in the situation as it forces the player into the building occupied by the sniper. However, the player needs better visual cues to make this clear. Consider adding an armoured bunker around the sniper and some way of preventing sniper death/re-appearance when grenades are launched it. You should also remove the possibility of acquiring SMG grenades prior to this event, as it confuses the player about how to deal with the obstacle.
Otherwise, a very impressive set of maps, and I look forward to more!
That's a really good point although it's not something I completely overlooked (which is why there are bars there). I guess the bars just aren't obvious enough.
Removing SMG grenades is something I would be opposed to, as they can be very useful in the antion and hunter battles. These are both parts that people have expressed difficulty with so I think it would be a little unfair to make it even harder.
Thanks for the feedback!
Post a Comment